Tyre Puncture Repair Service
At Top German Tyres, we understand the frustration and inconvenience that comes with a punctured tyre. A puncture can occur unexpectedly, jeopardizing your safety and causing delays in your daily routine. In this comprehensive guide, we will provide you with detailed instructions on how to effectively repair a punctured tyre. By following our expert advice and utilizing the right tools, you’ll be able to restore your tyre’s integrity and get back on the road with confidence.
UNDERSTANDING PUNCTURE TYPES
Before delving into the repair process, it’s crucial to identify the type
of puncture your tyre has sustained. This information will determine
whether the puncture can be repaired or if tyre replacement is necessary
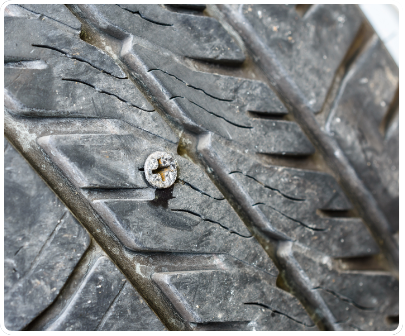
NAIL OR SCREW PUNCTURE
Commonly caused by nails, screws, or other sharp objects
penetrating the tyre tread. These types of punctures are
usually repairable, depending on their size and location
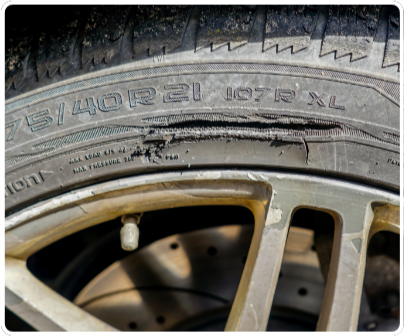
SIDEWALL PUNCTURE
Sidewall punctures occur when the tyre’s sidewall is compromised. Unlike tread punctures, sidewall punctures are generally not repairable and require tyre replacement due to safety concern
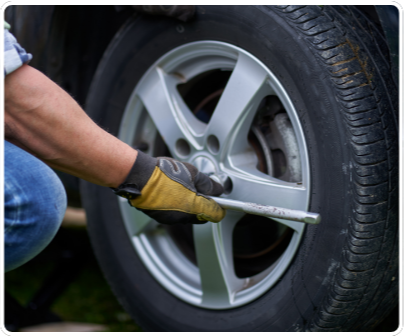
RUN-FLAT Tyre PUNCTURE
Run-flat tyres are designed to allow you to continue driving for a limited distance even after a puncture occurs. However, it’s essential to consult the tyre manufacturer’s guidelines to determine if the specific puncture is within the repairable limits of the tyre.
STEP-BY-STEP GUIDE TO REPAIRING PUNCTURED TYRE
Step 1:
Assess the Puncture
- Inspect the tyre for the puncture and any embedded foreign objects. If the
puncture is larger than ¼ inch or located in the sidewall, it’s typically not repairable. - Carefully remove any foreign objects from the tyre using pliers,
taking care not to cause additional damage

STEP 2:
PREPARE THE TYRE FOR REPAIR
- Completely deflate the tyre by taking out the valve core.
- Clean the puncture area with a wire brush or sandpaper to help the repair stick better.

STEP 3:
APPLY THE TYRE REPAIR PATCH
- Choose and insert the appropriate repair patch or plug, ensuring it covers the entire puncture.
- Use a repair tool to secure the patch in place and trim any excess material.
STEP 4:
REINFORCE THE REPAIR
- Apply a thin layer of rubber cement to the patch and surrounding area.
- Use a roller to press the patch firmly and let the adhesive dry completely.
STEP 5:
INFLATE AND TEST THE TYRE
- Reinstall the valve core and inflate the tyre to the manufacturer’s recommended pressure.
- Check the repaired area for leaks and monitor the tyre to ensure it maintains proper inflation.


